Deploy BeVyPN on Azure™ or AWS™
To deploy BeVyPN on AWS™ or Azure™ clouds, you need to have an account on those clouds. If you do not yet have an account, you can create it for free as AWS™ and Azure™ only charge you if you consume IT resources. Then you can deploy a BeVyPN offer according to the number of end users that you need to connect. You can refer to the Purchase BeVyPN page to get more information about BeVyPN on public clouds.
After having subscribed to a BeVyPN offer on the public cloud of your choice, you will receive a confirmation email. The received email contains the URL of your BeVyPN application. The URL would be in the form: https://<public-ip-address> where <public-ip-address> is the public IP address of your dedicated CacheGuard Gateway. Please note that by default BeVyPN uses a self signed certificate so the first time you connect, your Web browser will warn you about that. However, you will not have to worry about it as this is normal. You can also find the public IP address of your dedicated CacheGuard Gateway via your cloud UI (User Interface).
Login the Application
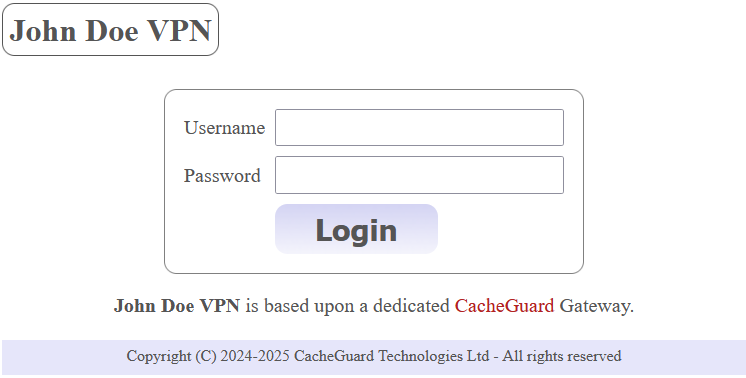
To login the application, open the received URL in your Web browser and login as the admin user (type admin in the Username field). The password is the same as the password to login your CacheGuard Gateway (setup during the application deployment on public clouds).
Make a First Setup
If you have deployed BeVyPN on a public cloud, you can directly go to the next section Deploy BeVyPN Accounts. When you logged in for the first time, go to the menu option Setup > General to make a first setup. The first setup is as simple as specifying a Service Identity Name a Private Domain Name and a Timezone and, that’s it.
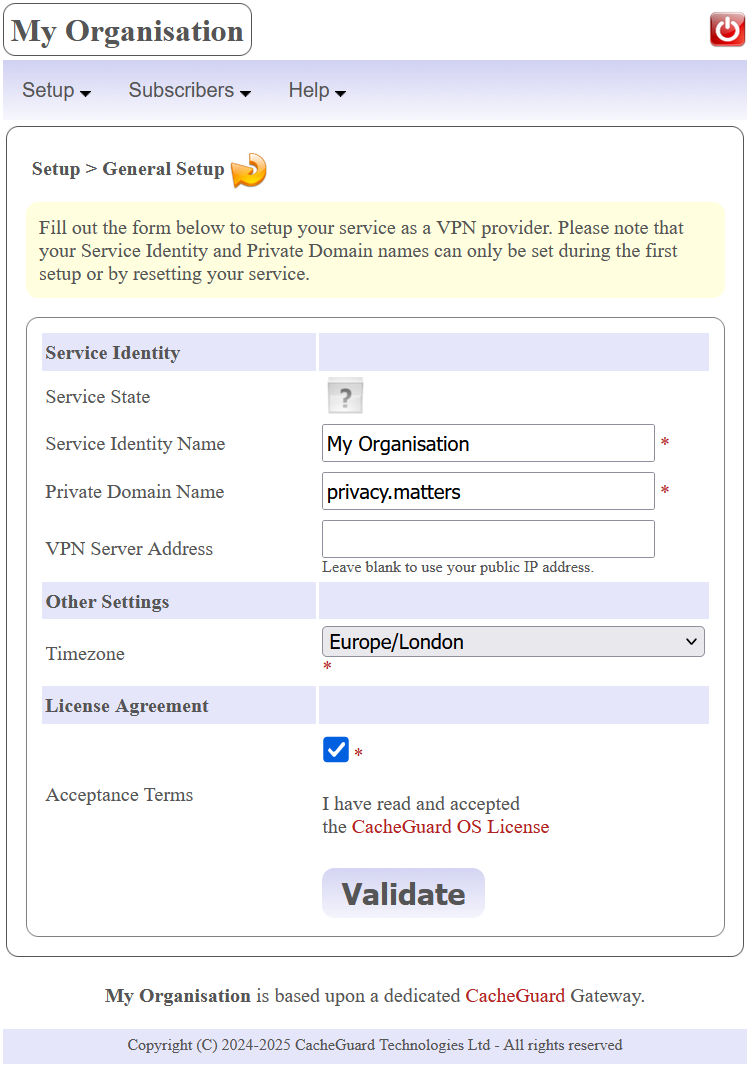
In the example below we have chosen John Doe VPN, privacy.matters and Europe/London respectively for the Service Identity Name, the Private Domain Name and the Timezone. To validate your choices, press the Validate button. BeVyPN takes approximately 5 minutes to complete the First Setup. You can refresh the Service State by reloading the Web page. A green check icon will indicate a successful termination of the First Setup process. Please note that during the First Setup process the BeVyPN application may become unavailable for a short time and you will not have to worry about that.
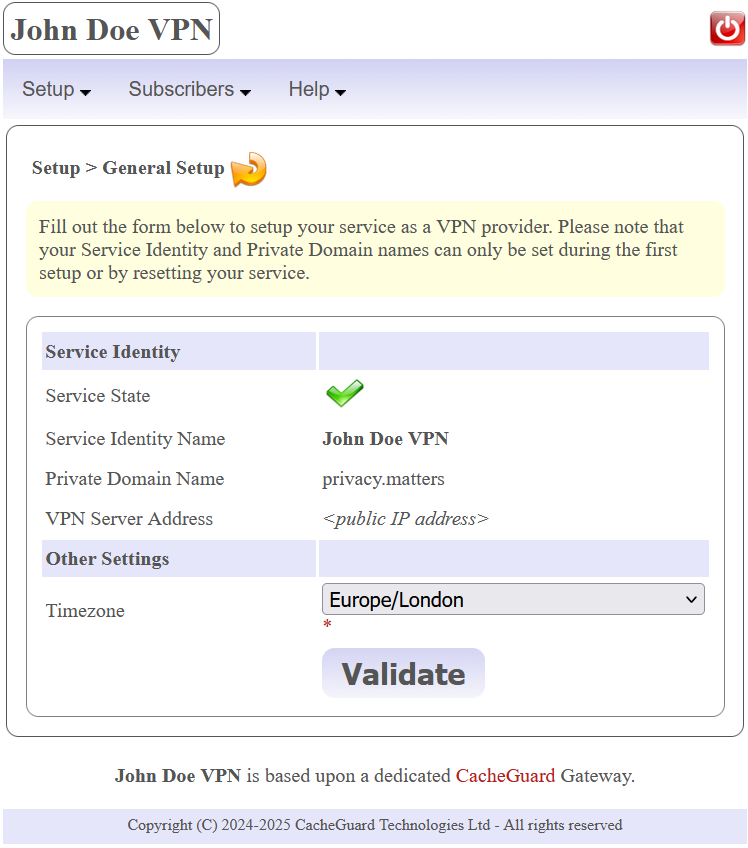
At this stage your BeVyPN is ready to connect end-users (your subscribers). As you may have noticed, there is absolutely no need to be computer scientist to deploy BeVyPN!
Deploy BeVyPN Accounts
Before deploying any VPN accounts for your subscribers, we highly recommend that you deploy a first VPN account for yourself. This ensures that your BeVyPN service works properly.
Creating an Account
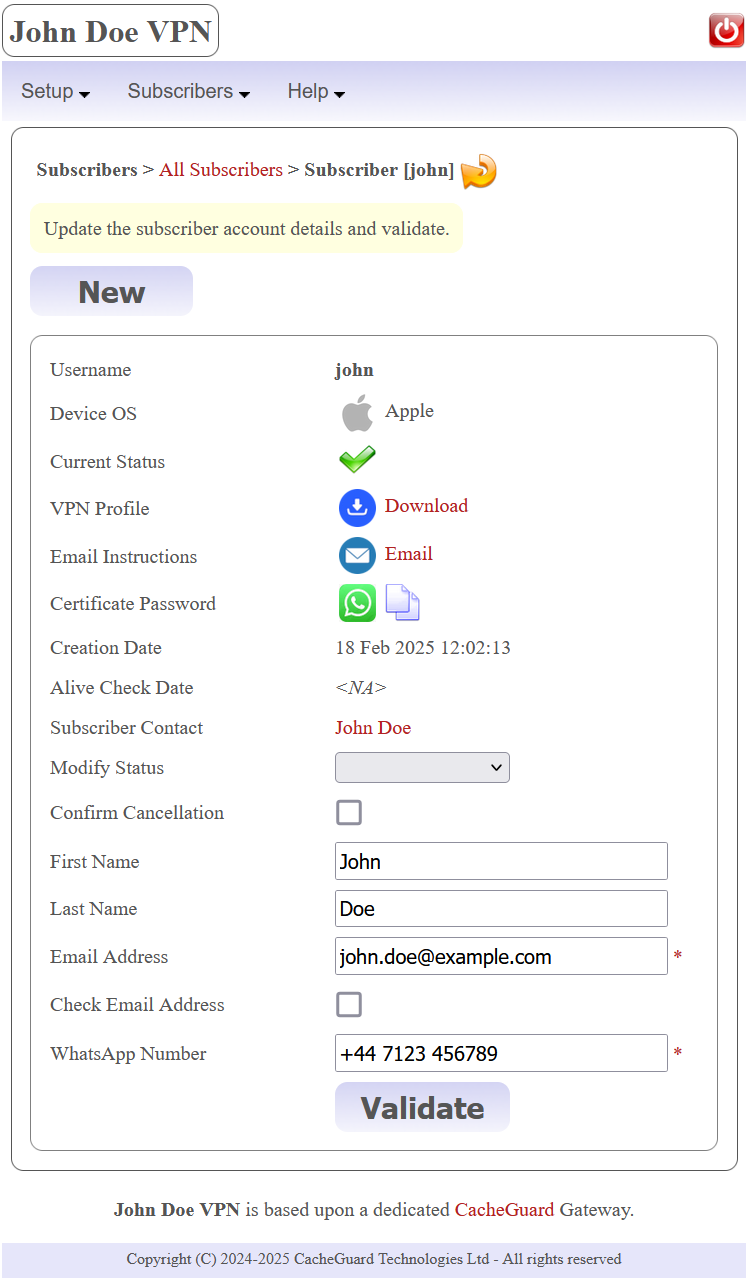
To deploy BeVyPN accounts, you must first ask the application to create VPN accounts. To create a new VPN account go to the Subscribers > New Subscriber menu option and fill out the subscriber form. Mandatory inputs here are as follows: Username, Device OS, Email Address and WhatsApp Number . In the example below we have created an account for John Doe <john.doe@exampl.com> identified with the john Username. As John Doe has an iPhone, we have specified Apple as his device OS with the +44 7123 456789 WhatsApp number.
Please note that usernames should be unique and once created, you can’t delete or modify them. However you have the possibility to suspend or cancel subscriber accounts. To validate your inputs, you must press the Validate button.
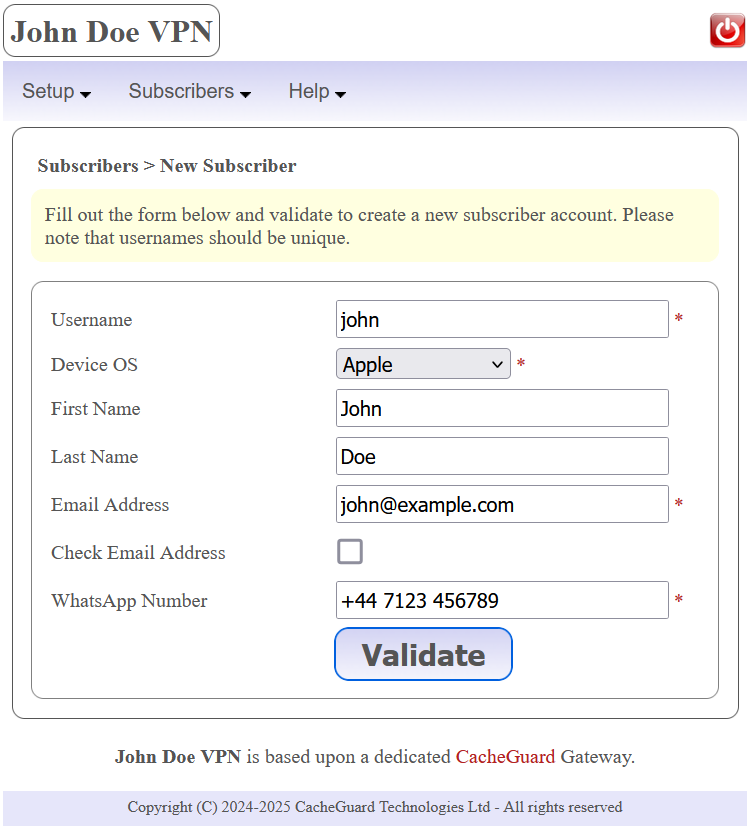
The account creation process starts after you press the Validate button and takes approximately 5 minutes. Please note that meanwhile, you have the possibility to ask for other account creations. You can refresh the account Current Status by reloading the Web page. A green check icon will indicate that the VPN account has been properly created.
Informing the Subscriber
Once a subscriber account has been created, you must download its VPN profile in order to send it by email to the subscriber. As VPN profiles are password protected, you must also send to the subscriber her/his password. It is highly recommended that you never send passwords by email and prefer another communication way such as WhatsApp or SMS. To inform a subscriber that her/his VPN account is created and allow her/him to connect, please proceed as follows:
- Download the subscriber VPN profile file on your device/machine by clicking on the download icon in front of the VPN Profile field.
- Click on the email icon in front of the Email Instructions field to contact your subscriber via your default email application. The email to send is then automatically composed by the application. Attach the previously downloaded VPN profile to that email and it to your subscriber.
- Finally send to the subscriber her/his password via WhatsApp or SMS. To do so you can click on the WhatsApp icon in front of the Certificate Password field. You can also copy the password to your clipboard by clicking on the copy/paste icon and then paste it in a messaging App.
Automatic Emailing
BeVyPN is capable to automatically send VPN profiles alongside instructions to connect by email. You can find instructions to setup that in the BeVyPN Manual.
